v11 Quick Look - Agent for Mac
Over the past few days I’ve been working on prepping my old 2014 Mac Book Pro for trade in for a new Mac Mini M1. I’ve had this trusty MBP since 2014 and was my go to travel lappy, but more recently it had become my desktop at home and as reported on Twitter and Reddit, the (https://www.reddit.com/r/spicypillows/comments/kufb2r/more_than_a_little_spicy_when_i_opened_the_2014/). Given that this machine hadn’t been reinstalled since I first got it in 2014, it had a lot of history stored on its SSD. Because of that, I needed to get as much of the data backed up before erasing it, ready for the battery swap out and trade in. In short, I needed to backup my Mac.
I could have done this a number of ways, but decided to take our upcoming Veeam Agent for Mac (that will be part of the v11 release) for a test run to see how it performs.
There is going to be a lot more deeper content released as we get closer to, and then after the GA of Veeam Backup & Replication v11 so I wanted to go through a very quick look at the install of the Agent and what it looks like at the Backup & Replication end. Just as level set, this agent can’t be managed/configured in a standalone mode yet… that means that you need a VBR server to configure a Protection Group and Backup Job Policy which then can be distributed to agents under management.
Quick Look at Configuration and Setup
Because this is managed by VBR, a new Protection Group needs to be created under Physical Infrastructure of Type Computers with pre-installed agents. The “Agent Package” gets created in the next step
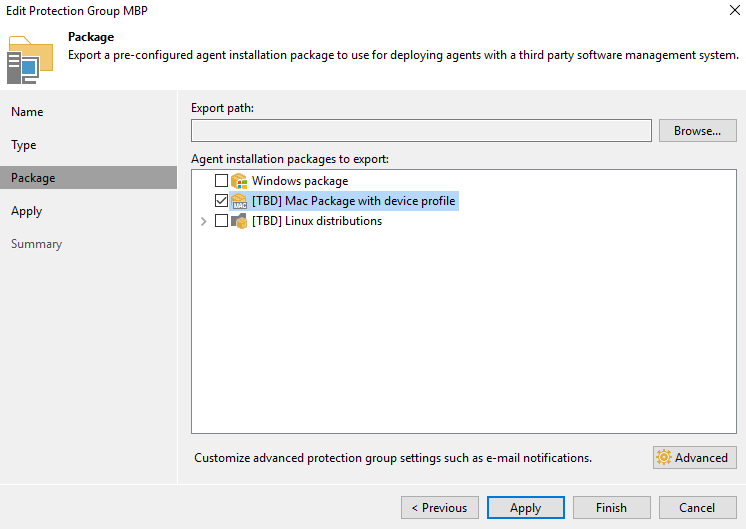 The agent package can be copied from the VBR ISO (without config) and from a location set as part of the Protection Group Setup shown above.
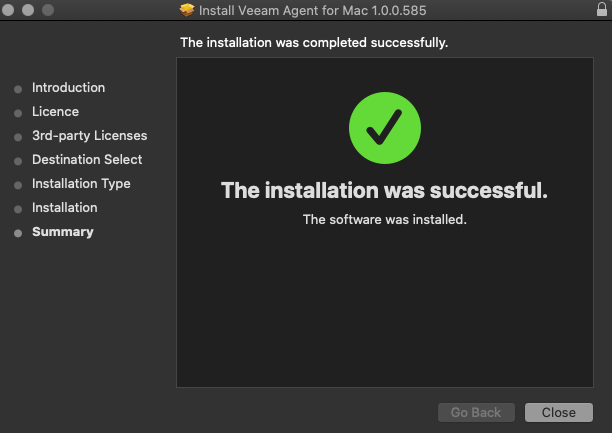
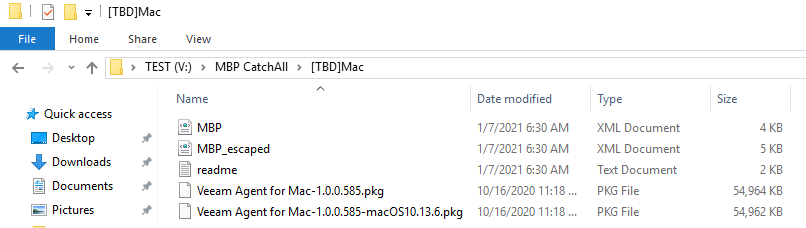 From here, I copied across the files in the folder and ran the installer.
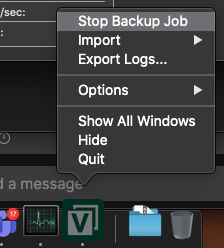
 Once installed, the Veeam Agent for Mac will appear in the system tray, though again the options here are limited. By importing the configuration XML that was created we are telling the Agent what VBR instance to talk to.
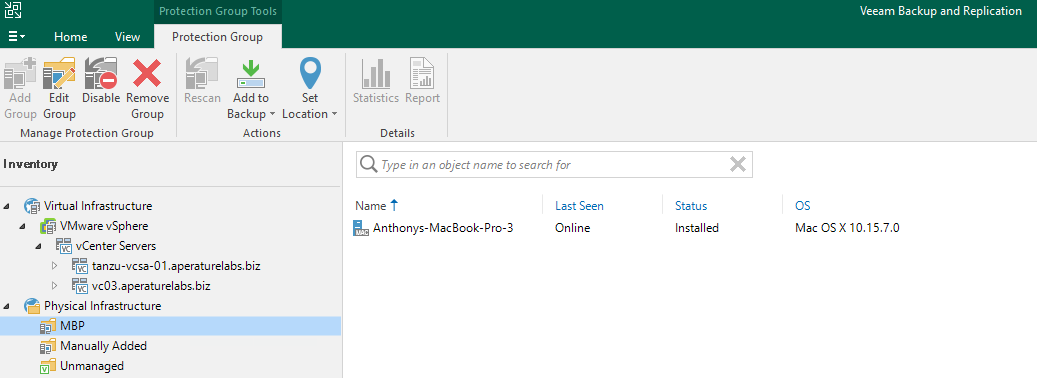
 Going back to the VBR server, I was able to see the MacBook Pro under the Protection Group
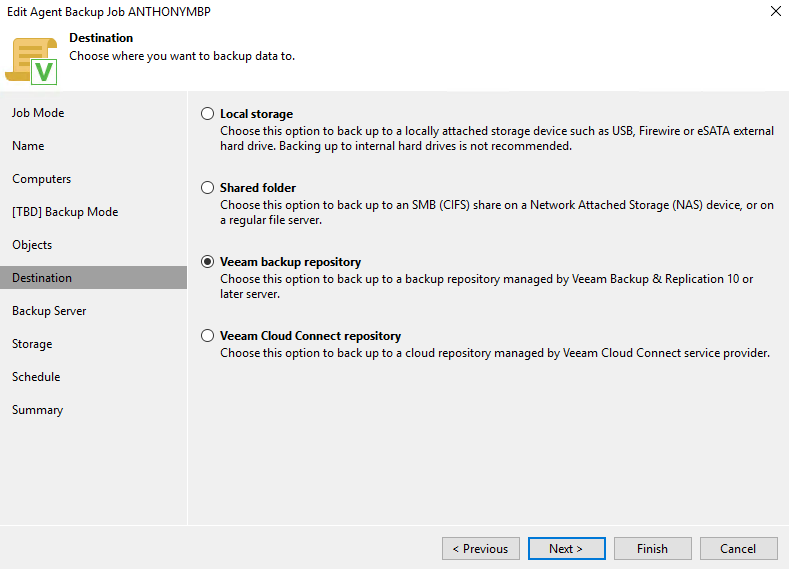
 And was able to configure a new Agent Backup Job and configure the Agent to send backups to a Veeam Backup Repository. Also note the other options below, including the ability to send to Veeam Cloud Connect!
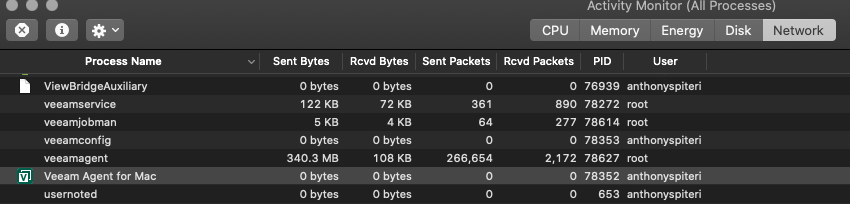
 Once that was done, I was able to start the backup job, and protect the Custom Paths I needed to get the required data off the MacBook. I was interested on what the processes were doing under the hood by way of Network, and from the below you can see the Veeam Agent for Mac setting there along with a few other Veeam services… but the heavy lifting is being done by the veeamagent process as per usual.
 With the job complete, I had the files I wanted to protect and the files are able to be recovered in the usual Veeam way.

Quick Wrap
That was a quick look and the new Veeam Agent for Mac which will be released as part of v11. I’m looking forward to getting this installed on my new Mac Mini M1 when it arrives and also looking forward to us iterating and improving on this initial Veeam Agent for Mac. And while there are options out there like Apple Time Machine, etc… the tie in back to Veeam Backup & Replication and the portability of the backup data is what should resonate with businesses with MacOS fleets. https://twitter.com/anthonyspiteri/status/496513464928464897?s=20
1 Commentarchived